Setup Cisco Meraki with MAC-based Access Control #
Get started #
Before configuring, create an SSID for the guest network in the Meraki Dashboard if there is not already one enabled.
In order to enable the integration, configuration is done in the Cisco Meraki Dashboard as well as in the Netgraph Connect administration portal.
Summary of the configuration steps:
| In the Netgraph Connect admin portal: | In the Cisco Meraki Dashboard: |
|
|
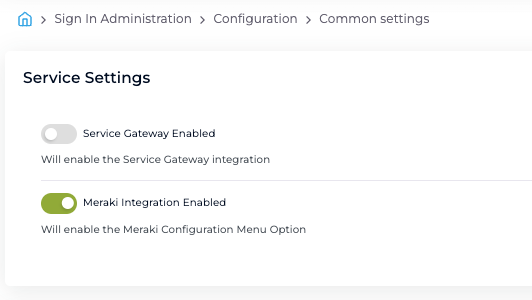
1. Enable Cisco Meraki integration #
In Netgraph Administration Portal, navigate to Sign In Administration-> Configuration-> Common Settings.
Note: If only Meraki integration is used, the Service Gateway option should be disabled!
2. Navigate to Meraki Configuration #
Once Meraki Integration is enabled, a new option is displayed in the navigation menu. Go to the Sign In Administration-> Configuration-> Meraki Configuration -> Settings.
- Select MAC-based Access Control in the drop down menu
- Click Update Settings when done.

3. Meraki Dashboard configuration #
The easiest way to configure the Meraki Dashboard is by following the configuration steps in the Netgraph Admin Portal. All the unique values are presented in the dashboard.
A) Activate ”MAC-based access control” #
- In Meraki Dashboard navigate to: Wireless-> Access control-> Security page.
- Select “MAC-based access control”.

B) Enable Mandatory DHCP #

C) Activate ”Cisco Identity Services Engine (ISE) Authentication” #
- In Meraki Dashboard navigate to: Wireless-> Access control-> Splash page.
- Select “Cisco Identity Services Engine (ISE) Authentication”.
(Netgraph Connect uses the same implementation as Cisco ISE to handle the authentication.)

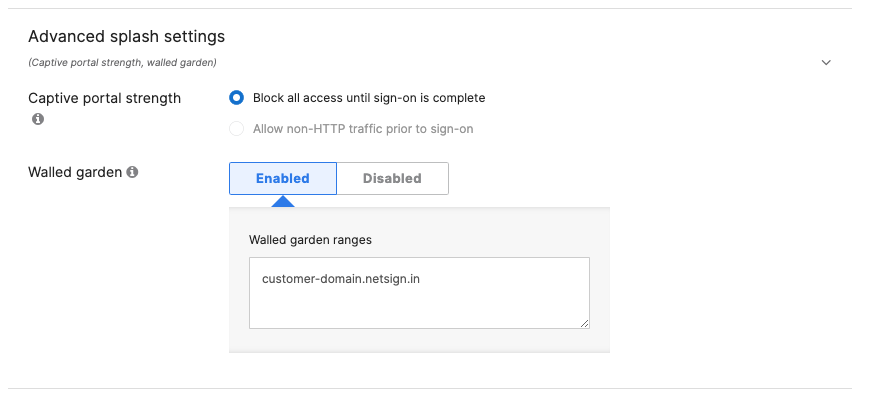
D) Enable Walled Garden #
- In Meraki Dashboard navigate to: Wireless-> Access control-> Splash page.
- Expand “Advanced splash settings”
- Enable “Walled garden”
- Add the domain displayed in the Netgraph Admin Portal.
- Select “Block all access until sign-on is complete“
E) Add RADIUS and RADIUS accounting servers #
- In Meraki Dashboard navigate to: Meraki Dashboard: Wireless-> Access control-> RADIUS.
- Add the host URL, port and secret as described in the table displayed in the Netgraph Admin Portal (only example below).
- Make sure RadSec i disabled
- Make sure Accounting interim interval is set (recommended value is 10 minutes)
- If Accounting Server is not visible please contact Meraki support to enable the feature.

F) Add “AP name” in Called-station-ID #
- In Meraki Dashboard, navigate to Meraki Dashboard: Wireless-> Access control-> Advanced RADIUS settings.
- Add AP name in the list of Called-station-ID category

G) Done #
View interactive demo #