Get started #
Before configuring, create an SSID for the WPN network in the Meraki Dashboard if there is not already one enabled. If more than one Meraki Network will be used then configure the SSID in a Meraki Network Template.
In order to enable the integration, configuration is done in the Cisco Meraki Dashboard as well as in the Netgraph Connect administration portal.
Summary of the configuration steps:
| In the Netgraph Connect admin portal: | In the Cisco Meraki Dashboard: |
|
|
1. Meraki Dashboard configuration #
When the Meraki WPN feature is configured you can proceed with the setup in the Netgraph Connect administration portal.
A) Activate ”Identity PSK without RADIUS” #
- In Meraki Dashboard navigate to: Wireless-> Access control-> Security page.
- Select “Identity PSK without RADIUS”.

B) Enable Wi-Fi Personal Network (WPN) #
(This feature may only be visible once a WPN group is created)

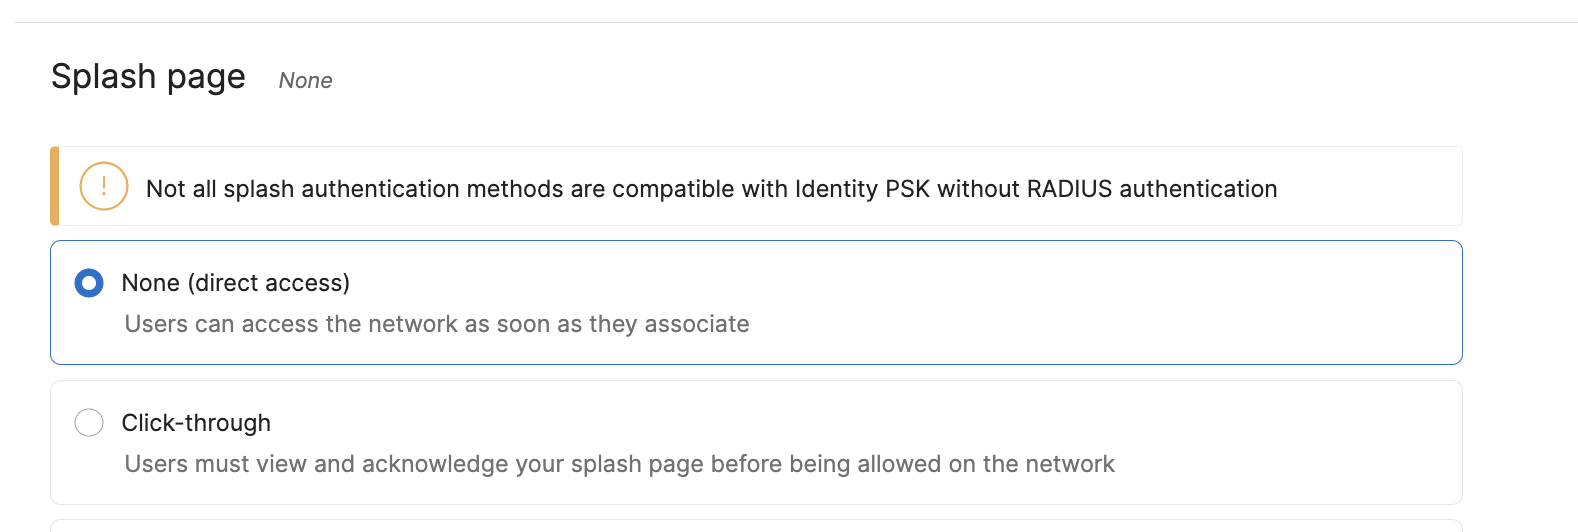
C) Splash page #
- In Meraki Dashboard navigate to: Wireless-> Access control-> Splash page.
- Select “None”.
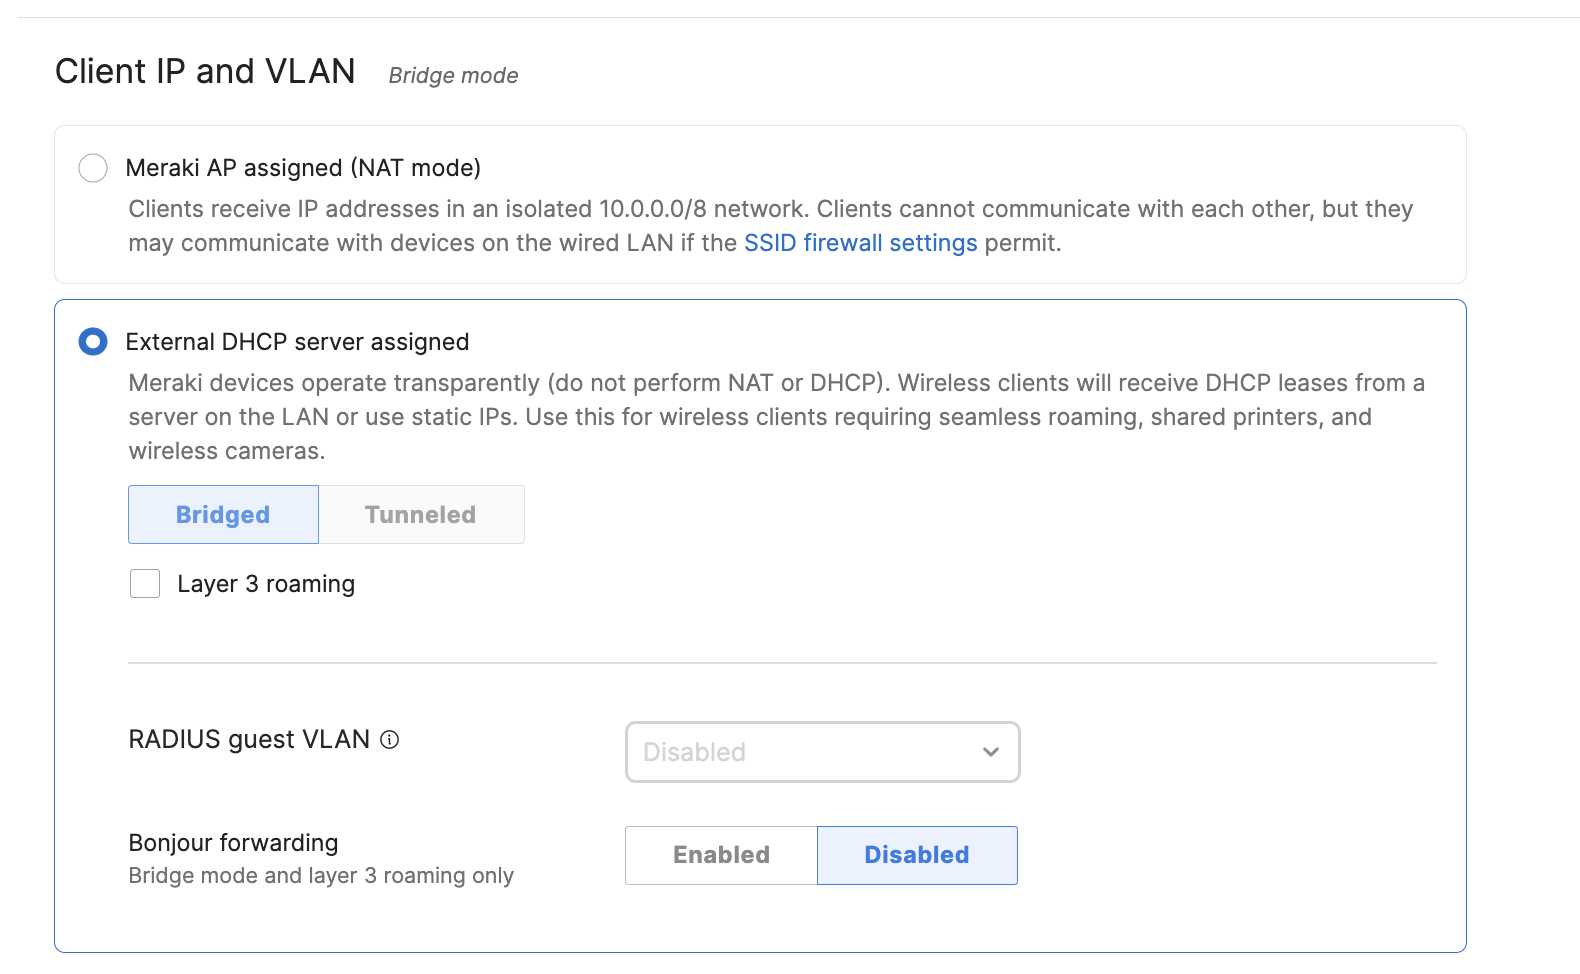
D) Client IP and VLAN #
- In Meraki Dashboard navigate to: Wireless-> Access control-> Client IP and VLAN page.
- Select “External DHCP server assigned”.
- Meraki WPN only works with external DHCP service and not with Meraki AP assigned (NAT mode).
Create Meraki WPN SSID – Watch an interactive demo #
2. Create a Meraki Dashboard API-key #
- In the Meraki Dashboard navigate to your account in the top right corner. Choose -> My Profile
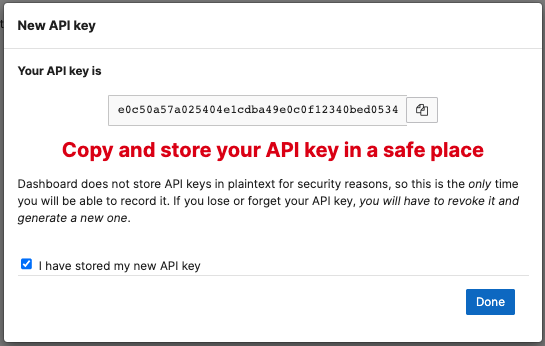
- Navigate to API access and Generate new API key
- Or go to Organization -> API and Webhooks

- Copy and store your API key
Create API Key – Watch an interactive demo #
2. Create a Context #
Go to the Meraki WPN Service #
In Netgraph Administration Portal, on the top bar, click Services and choose Meraki – Wireless Private Network
In the Netgraph Administration Portal, in the left menu
- Click Create and follow the wizard to initiate the integration
- First, give your Context a name

- Select network type Meraki WPN

- Select PSK Default (When creating Private Networks this will be the default length and character specifics of the generated PSK’s)

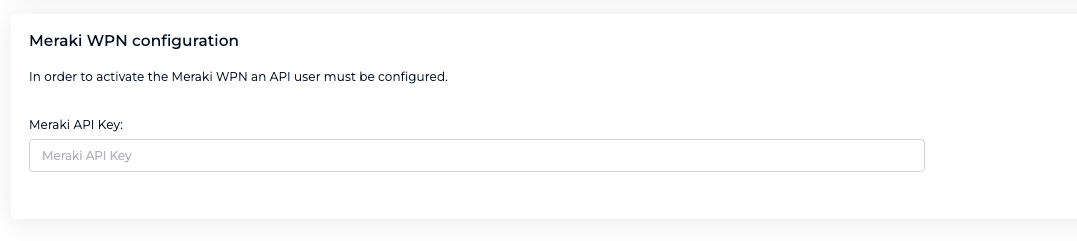
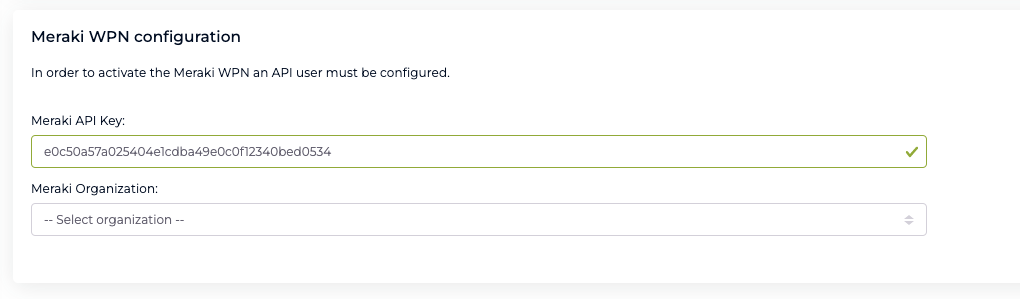
- Enter the Meraki Dashboard API access key
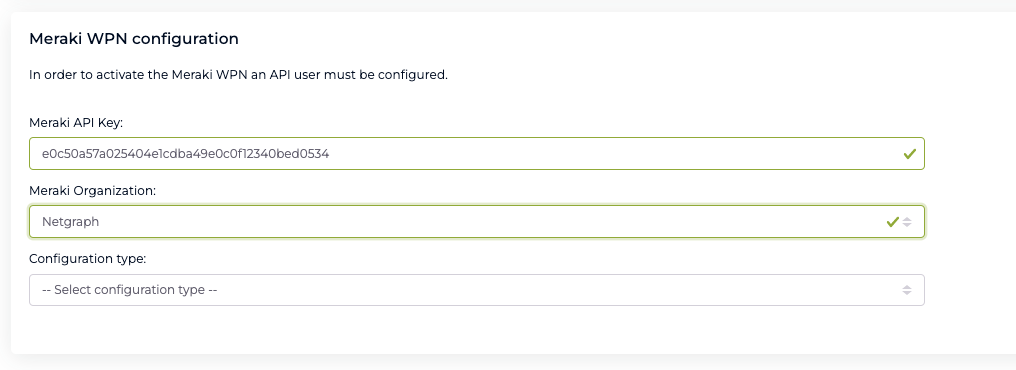
- Select the Meraki Organization in the drop down list
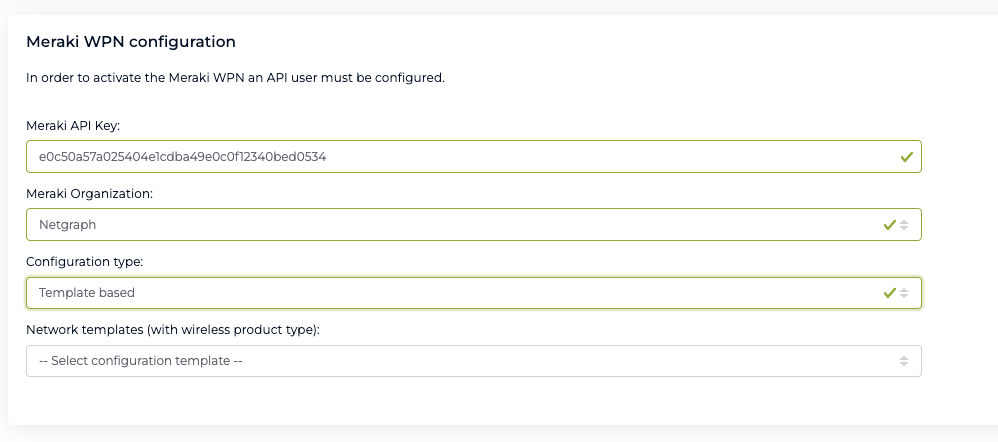
- Select Configuration type (Network based or Template based)
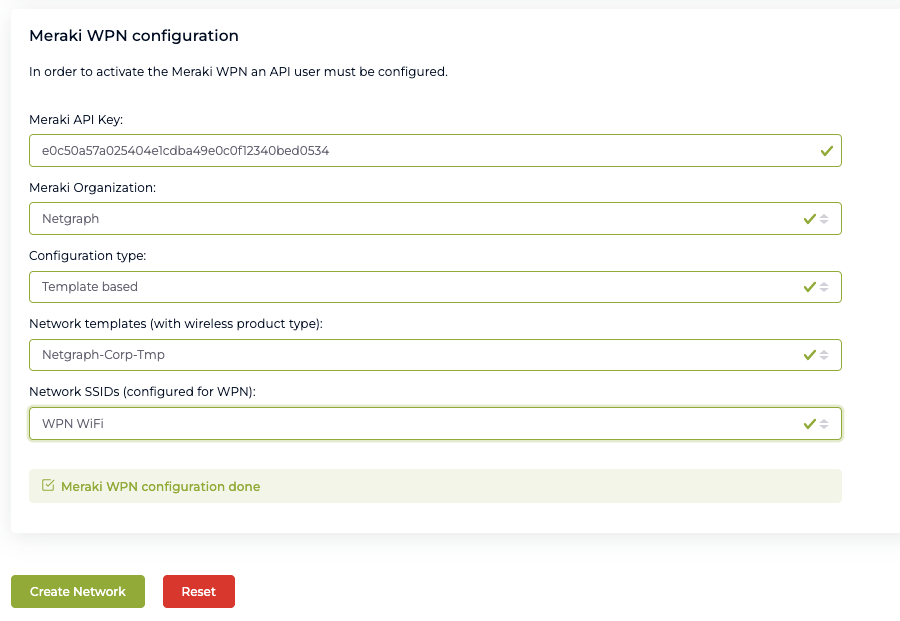
- Depending on Configuration type, choose the Network or the Template where the Private Networks will be deployed and managed.
- Select the pre-configured SSID for WPN
- Click Create Network
Create NCP Context – Watch an interactive demo below #
- Integration is done.
- Continue in the Netgraph administration portal and create, distribute and manage your Private Networks.